 Skip to content
Painting is one of the simplest and most cost-effective ways to transform any room. But here’s the secret many homeowners overlook: the key to a smooth, flawless, and professional-looking paint job is not just in the paint itself it’s in the preparation. Skipping wall prep or rushing through it often leads to streaks, uneven coverage, and paint that peels or chips too soon. If you want your walls to look like they were painted by a pro, you need to focus on proper preparation. In this detailed guide, we’ll cover everything you need to know about how to prep walls before painting from cleaning and repairs to priming and final checks so you can achieve long-lasting, beautiful results.

Why Wall Preparation Matters
Before diving into the steps, let’s understand why prepping your walls is essential:
- Better Adhesion: Clean, smooth surfaces help paint bond properly, preventing peeling.
- Improved Finish: Prepped walls eliminate blemishes and rough spots, giving you a smooth, even coat.
- Longevity: Proper preparation means your paint job will last longer without needing touch-ups.
- Cost-Effectiveness: Fewer coats of paint are needed when walls are primed and smoothed correctly.
Skipping preparation may save time in the short term, but it often doubles the work later.
Clear and Protect the Room
Before you even touch the walls, prepare the space around them.
- Remove furniture: Move large items to the center of the room or another space.
- Cover floors and furniture: Use drop cloths, plastic sheets, or old sheets to prevent drips.
- Remove wall décor: Take down frames, mirrors, or shelves, and store them safely.
- Switch plates and outlet covers: Unscrew and label them so they’re easy to reinstall.
A clear workspace helps you focus on prepping walls without distractions.
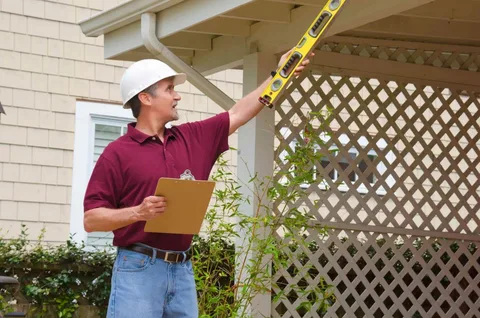
Inspect the Walls
Examine the walls under good lighting to identify imperfections. Look for:
- Cracks or holes
- Flaking or peeling paint
- Grease or dirt buildup
- Nail pops or dents
- Water stains or discoloration
This inspection determines the type of repair work needed before painting.
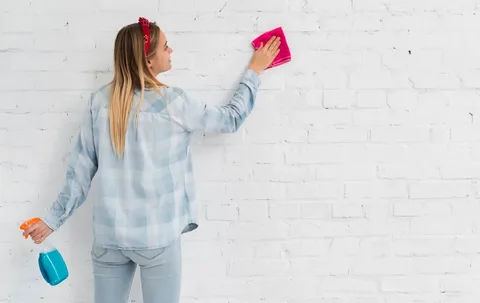
Clean the Walls
Dirt, dust, and oils prevent paint from sticking properly. Cleaning ensures a fresh surface.
- Dust first: Use a duster, microfiber cloth, or vacuum with a brush attachment.
- Wash gently: For lightly soiled walls, use warm water with mild soap.
- Degrease where needed: Kitchens and bathrooms may require a stronger degreaser solution.
- Dry completely: Allow walls to air dry before moving to the next step.
Avoid oversaturating walls with water excess moisture can damage drywall.
Repair Imperfections
Walls rarely come perfectly smooth. Repairing them before painting ensures a professional finish.
- Fill small holes and cracks: Use spackling paste or filler with a putty knife.
- Sand smooth: Once dry, lightly sand the patched area for a flush finish.
- Address nail pops: Hammer in protruding nails, then patch the area.
- Repair larger damage: Use patch kits for holes bigger than a nail head.
Don’t skip this step paint highlights imperfections rather than hiding them.
Sand the Walls
Sanding creates a smooth surface that helps paint adhere evenly.
- Use medium grit sandpaper for rough areas and fine grit for smoothing.
- Sand patched spots, shiny finishes, or previously painted glossy walls.
- Always sand lightly in circular motions, avoiding deep scratches.
- Wipe down walls with a damp cloth afterward to remove dust.
A smooth wall is the foundation of a professional-looking paint job.
Address Stains and Problem Areas
Certain marks can bleed through fresh paint if not treated first.
- Water stains: Apply a stain-blocking primer.
- Mold or mildew: Clean with a solution of water and mild bleach, then rinse and dry.
- Grease spots: Remove completely with degreaser before priming.
Ignoring stains risks having them reappear after painting, ruining your finish.
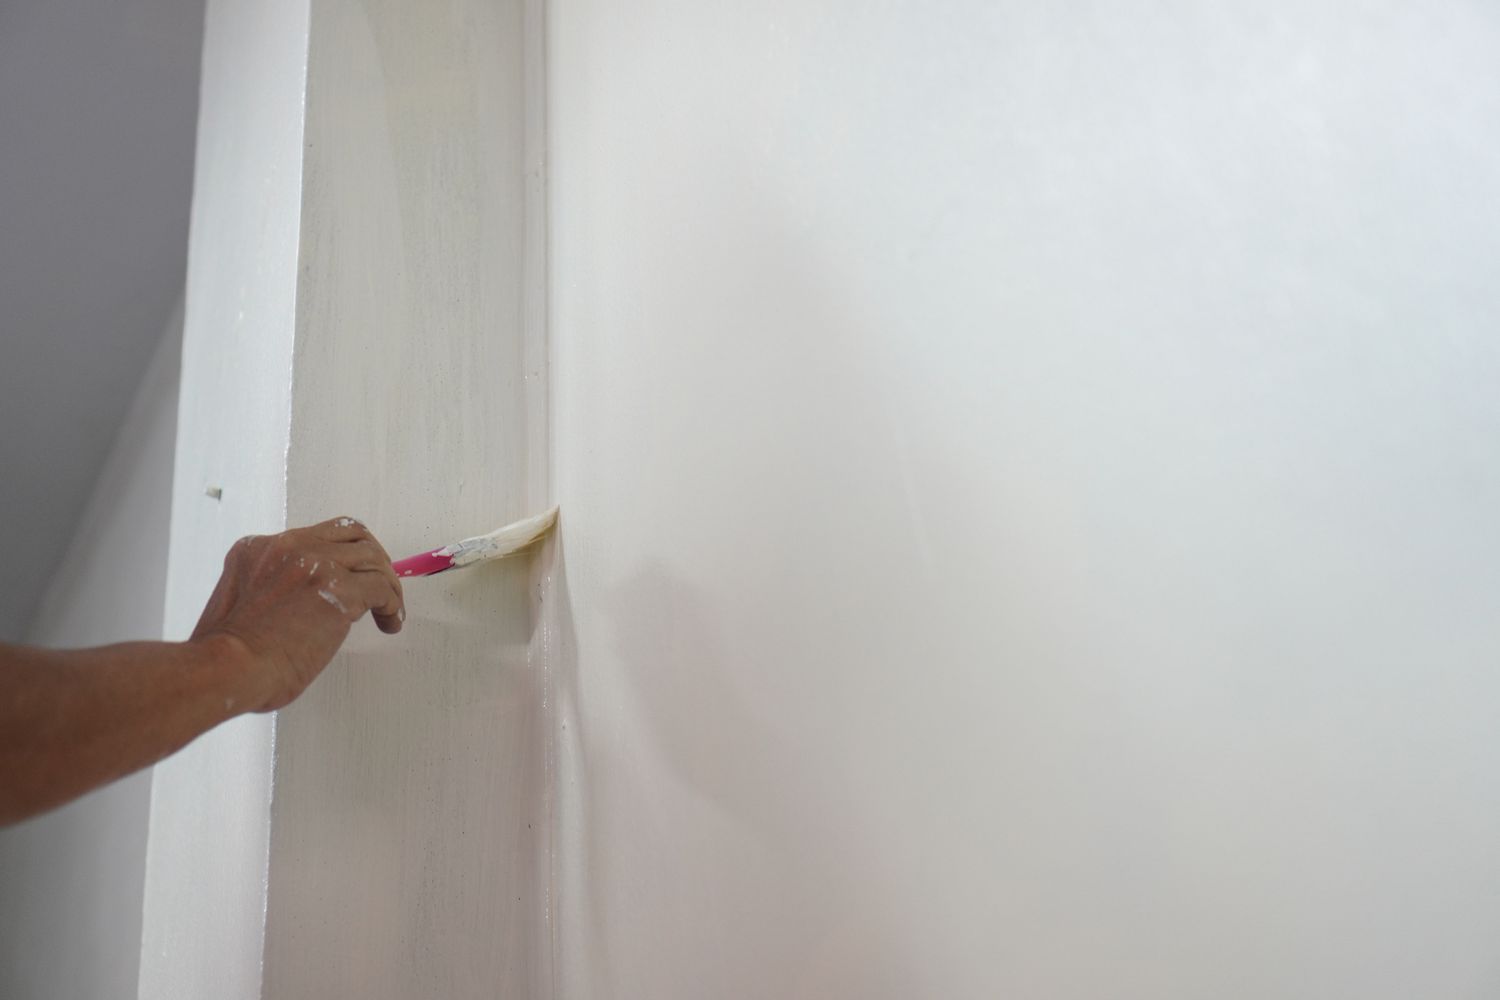
Tape and Protect Edges
To achieve clean, crisp lines, use painter’s tape around:
- Window and door frames
- Baseboards and trim
- Ceiling edges
Press down the tape firmly to prevent paint bleed. Taking time here saves you from tedious touch-ups later.
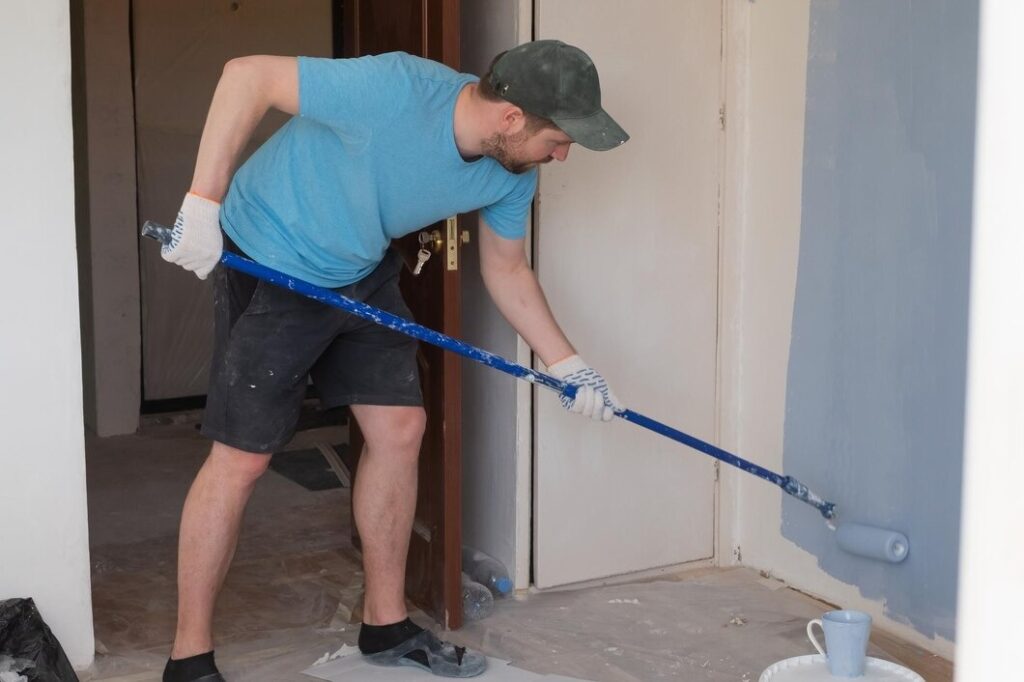
Prime the Walls
Priming is one of the most important steps in prepping walls before painting.
When to prime
- Painting over dark colors
- Painting new drywall
- Covering stains or repaired areas
- Switching from glossy to matte finishes
Benefits of primer
- Provides a uniform surface
- Enhances paint adhesion
- Reduces the number of coats needed
- Blocks stains from bleeding through
Apply primer evenly with a roller and allow it to dry completely before painting.
Final Check Before Painting
Before opening your paint cans, give your walls a final inspection:
- Run your hand over surfaces to feel for rough patches.
- Check for missed dust or dirt.
- Ensure repairs are smooth and blends seamlessly.
- Confirm that primer has fully dried.
This quick review helps catch small details before they become big flaws.
Pro Tips for Flawless Results
- Work in good lighting: Shadows can hide imperfections, so use lamps if natural light is insufficient.
- Take your time: Rushing through prep usually leads to more mistakes.
- Use quality tools: Good brushes, rollers, and sandpaper make prep easier and results cleaner.
- Don’t skip drying time: Moisture in filler, primer, or cleaning can ruin paint adhesion.
- Ventilate the room: Proper airflow speeds up drying and keeps the work area comfortable.
Common Mistakes to Avoid
- Painting over dust or grease without cleaning first
- Skipping primer on dark or stained walls
- Using the wrong sandpaper grit
- Not repairing small cracks or holes before painting
- Removing tape too late, which can peel off dried paint
Avoiding these mistakes will help you achieve a professional level finish.
Final Thoughts
Painting isn’t just about choosing the right color it about creating a flawless canvas to work on. Proper wall preparation may feel like extra work, but it makes all the difference in achieving a polished, professional result. By cleaning, repairing, sanding, priming, and protecting your walls before painting, you’ll enjoy a smoother finish, longer-lasting results, and a space you’ll love showing off.So the next time you’re planning a paint project, remember: prep like a pro, and your walls will look like they were painted by one.
